How to Start a Simple Mobile App with Expo and React Native
A beginner-friendly, production-minded guide to starting a simple mobile app with Expo and React Native, including setup, folder structure, navigation, reusable components, testing, and deployment planning.
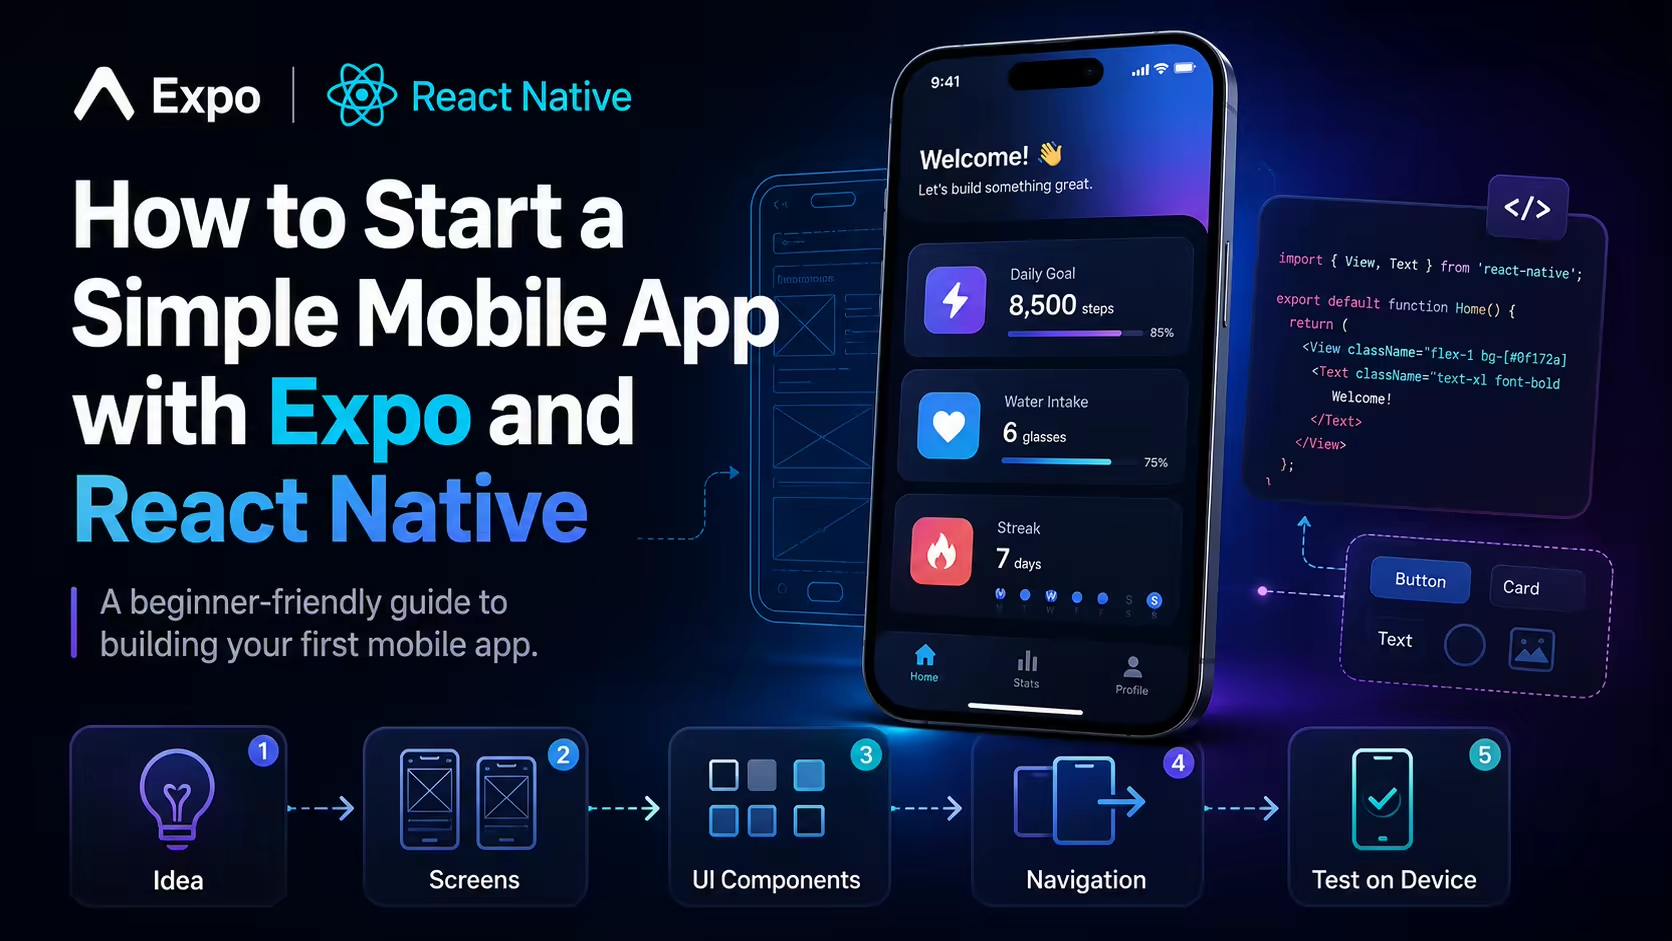
Starting your first mobile app can feel confusing.
Many beginners ask the same questions:
- Should I use React Native CLI or Expo?
- How should I structure my project?
- When should I add Firebase or APIs?
- How do I test the app on a real phone?
- How do I prepare the app for App Store or Play Store later?
The good news is that you do not need to start with a complex setup.
For many simple apps, MVPs, and startup products, Expo with React Native is one of the fastest ways to start building a real mobile app for iOS and Android.
In this guide, I'll explain a simple but professional way to start an Expo app, structure it properly, and think about production from day one.
If you are planning a real mobile app for your startup or business, you can also explore my React Native Mobile App Development service.
Why Expo Is a Good Starting Point
Expo is a framework and toolchain built around React Native.
It helps developers start faster by handling many native setup details that usually take time in traditional mobile development.
With Expo, you can quickly build apps that use:
- screens and navigation
- camera and media access
- push notifications
- location
- APIs
- Firebase or Supabase
- authentication
- payments
- AI integrations
- App Store and Play Store deployment with EAS Build
For beginners, Expo reduces setup friction.
For product builders, it helps move from idea to MVP faster.
That is why I often recommend Expo for simple mobile apps, startup MVPs, and business apps that do not need heavy custom native code at the beginning.
If you are confused between Expo, EAS Build, and React Native CLI, I also wrote a detailed comparison here: React Native CLI vs Expo vs EAS Build.
What You Need Before Starting
Before creating the app, make sure you have the basic tools installed.
You need:
- Node.js
- npm or yarn
- Expo tooling
- VS Code or another code editor
- Expo Go app on your phone
- Git for version control
You can create a new Expo project using:
npx create-expo-app my-first-app
Then move into the project:
cd my-first-app
Start the development server:
npx expo start
After that, scan the QR code with Expo Go and your app will open on your phone.
This is one of the biggest advantages of Expo: you can test quickly on a real device.
Start With a Simple App Idea
Before writing too much code, define the app idea clearly.
A simple app should have a small first version.
For example:
- notes app
- habit tracker
- expense tracker
- booking app
- reminder app
- delivery order app
- product catalog app
- simple chat app
- AI helper app
For a first version, avoid adding too many features.
A good MVP should answer one question:
What is the smallest useful version of this app?
For example, if you are building a medicine delivery app, the first version may only need:
- product list
- search
- cart
- order form
- user contact details
- admin order management
You can add advanced features later.
This is how I think about product development in real projects: first make the app useful, then make it advanced.
Plan Screens Before Writing Code
A mobile app is usually built around screens.
Before coding, write down the main screens.
For a simple app, you may need:
Home Screen
Details Screen
Profile Screen
Settings Screen
Login Screen
Signup Screen
For a delivery app, it may look like:
Home Screen
Product Listing Screen
Product Details Screen
Cart Screen
Checkout Screen
Order Success Screen
Order History Screen
For a booking app:
Home Screen
Services Screen
Booking Screen
Calendar Screen
Profile Screen
Booking History Screen
Planning screens first helps you avoid messy development.
It also makes navigation easier to structure.
Use a Clean Folder Structure
A beginner mistake is putting everything inside one file or one folder.
Even for a simple app, keep your project organized.
A clean starter structure can look like this:
src/
  assets/
    images/
    icons/
  components/
    ui/
    shared/
  constants/
    colors.ts
    config.ts
  features/
    auth/
    home/
    profile/
  navigation/
  services/
    api.ts
    firebase.ts
  hooks/
  utils/
This structure keeps your code maintainable.
You do not need to overengineer the app, but you should avoid messy files from the start.
A clean structure helps when the app grows from a simple MVP into a production product.
Create Reusable Components
Reusable components save time and make the app consistent.
Instead of designing buttons and text styles again and again, create small UI components.
Examples:
AppButton
AppText
AppInput
ScreenWrapper
LoadingState
EmptyState
A simple button component can be reused across the app.
type AppButtonProps = {
  title: string;
  onPress: () => void;
};

export function AppButton({ title, onPress }: AppButtonProps) {
  return (
    <Pressable onPress={onPress}>
      <Text>{title}</Text>
    </Pressable>
  );
}
At the beginning, keep components simple.
Later, you can add variants, loading states, disabled states, icons, and theme support.
The goal is not to create a complex design system on day one. The goal is to avoid repeating the same UI code everywhere.
Add Navigation Early
Most mobile apps need navigation.
Common navigation types include:
- stack navigation
- tab navigation
- drawer navigation
- nested navigation
For a simple app, stack navigation is usually enough at the beginning.
Example flow:
Home -> Details -> Checkout -> Success
If the app has multiple main sections, tab navigation can help:
Home
Orders
Profile
Settings
Navigation should match the product flow.
Do not add too many navigation layers too early. Start simple and expand when needed.
Decide Where Data Will Come From
A mobile app needs data.
Data can come from:
- local state
- local storage
- REST APIs
- Firebase
- Supabase
- custom backend
- third-party APIs
- AI APIs
For very simple apps, local storage may be enough.
For real production apps, you may need authentication, database, backend APIs, file storage, and admin dashboards.
For example:
| App Type | Possible Data Setup |
|---|---|
| Notes app | Local storage or SQLite |
| Delivery app | Backend API + admin panel |
| Booking app | Database + calendar + notifications |
| Chat app | Firebase or real-time backend |
| AI app | API backend + AI provider |
If the app is a real business product, think early about backend and admin panel needs.
Many mobile apps fail because the app is built, but the backend/admin workflow is ignored.
That is why full product planning matters.
Add Firebase or Supabase When Needed
Firebase and Supabase are both useful for mobile apps.
Firebase is common for:
- authentication
- Firestore database
- push notifications
- analytics
- crash reporting
- file storage
Supabase is useful for:
- PostgreSQL database
- authentication
- real-time features
- storage
- SQL-based workflows
For a simple app, you do not always need Firebase on day one.
But if your app requires login, user data, push notifications, or real-time updates, plan it early.
I often use Firebase or Supabase depending on the app complexity, data model, and long-term product needs.
Test on a Real Device
Testing only on simulator or emulator is not enough.
Always test on a real device.
Check:
- screen layout
- button sizes
- keyboard behavior
- slow internet behavior
- loading states
- image loading
- navigation
- permissions
- app startup speed
- dark/light mode if used
Real users will use real devices.
Testing early helps you catch problems before release.
Think About Deployment Early
Even if your app is simple, think about deployment from the beginning.
For Expo apps, production builds are usually created with EAS Build.
Later, when you are ready for release, you may need:
- Android package name
- iOS bundle identifier
- app icon
- splash screen
- app signing
- environment variables
- Firebase production config
- privacy policy
- App Store screenshots
- Play Store listing
- production build profile
I covered Android release preparation in detail here: React Native Play Store Deployment Checklist.
The main point is simple:
A mobile app is not complete until it can be built, tested, deployed, and updated.
Common Beginner Mistakes
Here are some mistakes I often see when people start a mobile app:
- Starting without a clear MVP scope.
- Building too many features at once.
- Ignoring folder structure.
- Repeating UI code instead of creating reusable components.
- Not testing on real devices.
- Using too many packages without understanding them.
- Not planning authentication and backend early.
- Waiting until the end to think about deployment.
- Hardcoding values that should be configurable.
- Ignoring app performance from the start.
These mistakes are avoidable.
A simple app can still be built with clean engineering habits.
Simple Roadmap for Your First Expo App
Here is a practical roadmap:
1. Choose one simple app idea
2. Define MVP features
3. Create Expo project
4. Plan screens
5. Set up folder structure
6. Create reusable UI components
7. Add navigation
8. Add data/API/Firebase if needed
9. Test on real devices
10. Prepare production build later with EAS Build
This is enough to start correctly.
You do not need to build everything perfectly from day one.
But you should build in a way that the app can grow.
How AI Can Help Beginners Build Faster
AI tools can help a lot when starting an app.
They can help with:
- generating starter components
- explaining errors
- creating screen layouts
- writing API functions
- improving code structure
- creating test data
- preparing documentation
- debugging build issues
But AI should not replace engineering thinking.
A good developer still needs to decide:
- project architecture
- data flow
- app scope
- feature priority
- performance approach
- security decisions
- deployment strategy
I use AI-assisted development as a workflow accelerator, not as a replacement for product engineering.
This is especially useful for startup MVPs, where speed matters but maintainability still matters too.
Final Thoughts
Expo and React Native make it easier to start a mobile app, but starting correctly still matters.
A simple app should have:
- clear MVP scope
- clean folder structure
- reusable components
- planned navigation
- real device testing
- backend/API planning
- deployment thinking from the beginning
If you are a beginner, do not worry about building a huge app immediately.
Start small, build clean, test early, and improve step by step.
If you are a startup or business owner, Expo can be a practical way to move from idea to MVP quickly without overcomplicating the first version.
For more production-focused guidance, you can read my article on Building Production-Ready React Native Apps and my comparison of React Native CLI vs Expo vs EAS Build.
If you need help building a production-ready mobile app, MVP, or AI-powered product, explore my React Native Mobile App Development service or contact me to discuss your project.