React Native Play Store Deployment Checklist: From Build to Production Release
A practical React Native Play Store deployment checklist covering Android builds, EAS Build, app signing, Firebase, permissions, testing, Play Console setup, and production release readiness.
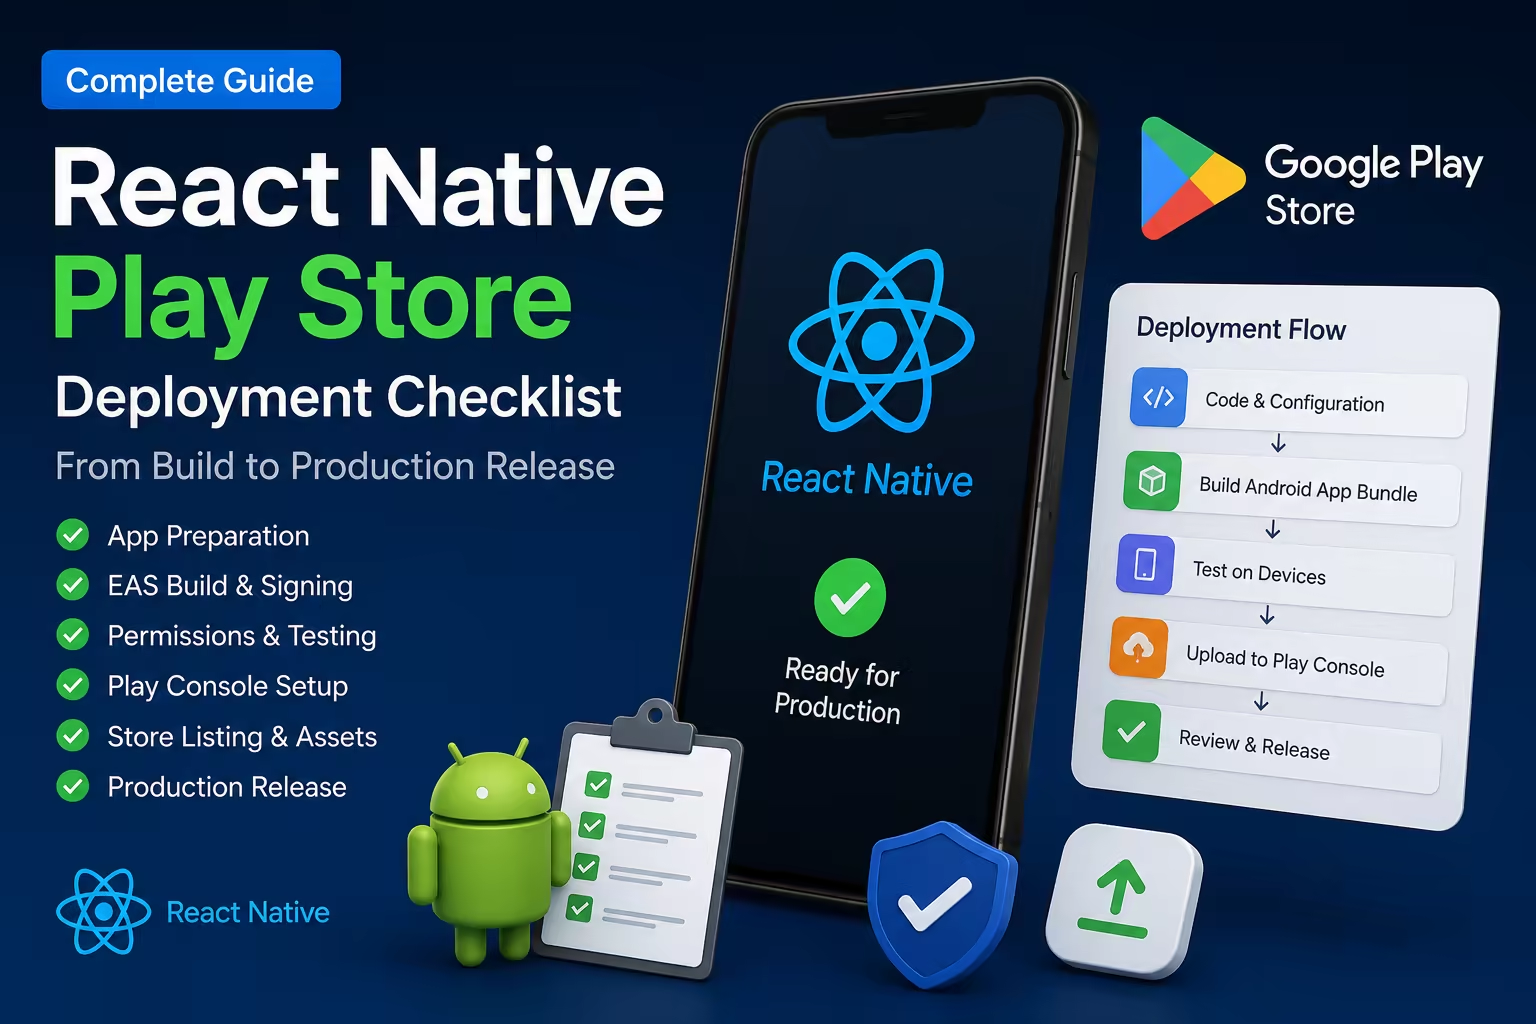
Publishing a React Native app to the Google Play Store is not only about generating a build and uploading it.
A production release needs proper app configuration, signing, permissions, testing, store listing assets, privacy details, version management, and final quality checks.
I have worked on multiple React Native apps where the actual development was only one part of the process. The release phase often revealed issues related to Android packaging, permissions, app size, Firebase setup, API environments, store metadata, and Play Console requirements.
This checklist covers the practical steps I follow before preparing a React Native app for Play Store release.
If you are building a mobile app and need help with production readiness, you can also explore my React Native Mobile App Development service.
1. Confirm the App Is Production Ready
Before creating the Play Store build, I first check whether the app is actually ready for production.
A React Native app should not go to the Play Store if it still contains:
- test API URLs
- console logs
- broken navigation flows
- placeholder images
- unused permissions
- debug-only Firebase config
- incomplete onboarding
- untested payment flows
- unstable push notifications
- hardcoded development values
The first step is always to move the app from a "working build" to a "production-ready build."
That means the app should be stable, tested, and connected to production services.
2. Prepare Android Package Details
Every Android app needs a unique package name.
Example:
com.companyname.appname
This package name becomes the permanent identity of the app on Google Play.
Before release, I check:
- package name
- app name
- version code
- version name
- adaptive icon
- splash screen
- app theme
- Android permissions
- notification icon
- deep links if needed
For Expo projects, these values are usually managed inside app.json or app.config.js.
For React Native CLI projects, they are usually configured inside the Android project files.
3. Check Target SDK and Android Compatibility
Google Play regularly updates Android target API requirements.
Before release, I always check whether the project is targeting the required Android SDK version.
This matters because an app can build successfully but still fail during Play Console upload if the target SDK version is outdated.
For React Native and Expo projects, this may require:
- updating Expo SDK
- updating React Native version
- checking Android Gradle settings
- updating dependencies
- rebuilding native Android files
- testing compatibility on real devices
This step is especially important when maintaining older apps.
4. Create a Production Build
For Expo projects, I usually use EAS Build.
A production Android build can be generated using:
eas build --platform android --profile production
A typical eas.json production profile may look like this:
{
  "build": {
    "production": {
      "android": {
        "buildType": "app-bundle"
      }
    }
  }
}
For Google Play, Android App Bundle format is usually preferred.
The output is generally an .aab file, which is uploaded to the Play Console.
For React Native CLI projects, the production bundle is usually generated from the Android directory using Gradle.
5. Handle App Signing Correctly
App signing is one of the most important parts of Android deployment.
If signing is not handled correctly, future app updates can become difficult or even impossible.
For production apps, I check:
- release keystore
- upload key
- Play App Signing
- signing credentials backup
- EAS credentials if using Expo
- Gradle signing config if using React Native CLI
For Expo EAS Build, credentials can be managed by EAS or provided manually.
The important rule is:
Never lose production signing credentials.
If signing credentials are lost, updating the app later can become a serious problem.
6. Review App Permissions
Many Play Store issues happen because of unnecessary or sensitive permissions.
Before release, I review all Android permissions carefully.
Common permissions include:
- camera
- location
- microphone
- notifications
- media library
- contacts
- storage
- Bluetooth
Only required permissions should stay in the final build.
If the app asks for location, camera, microphone, or sensitive access, the reason should be clear to both users and Google Play reviewers.
For example, a ride-sharing app may need location access, but a simple notes app probably should not.
7. Test Firebase and Push Notifications
Firebase is common in React Native apps, especially for authentication, Firestore, analytics, crash reporting, and push notifications.
Before release, I check:
- Firebase project environment
- Android app package name in Firebase
google-services.json- FCM push notification setup
- notification behavior in foreground/background
- Firebase Auth providers
- Firestore security rules
- Firebase Analytics if used
- Crashlytics if enabled
Push notifications should be tested on real Android devices, not only emulators.
This is especially important for apps with chat, delivery, booking, reminders, or order status updates.
8. Test Payments and Monetization
If the app uses payments or subscriptions, I test them before release.
Common monetization features include:
- Stripe payments
- PayPal payments
- in-app purchases
- subscriptions
- Google AdMob
- premium plans
- wallet or checkout flows
For in-app purchases, Google Play billing setup must be correct inside the Play Console.
For AdMob, I make sure test ads are not used in production and production ad unit IDs are configured properly.
Payment bugs in production can directly affect business revenue, so this step should never be skipped.
9. Optimize App Size and Performance
Before Play Store release, I check app size and performance.
Important checks include:
- large images
- unused assets
- unused dependencies
- heavy libraries
- startup time
- memory usage
- unnecessary re-renders
- slow API calls
- splash screen delay
- bundle size
For production apps, performance matters because users judge the app quickly after installation.
A smaller, faster app usually performs better, especially on mid-range Android devices.
I also wrote about production-focused React Native development in my article on building production-ready React Native apps.
10. Test on Real Devices
A build that works on one device may fail on another.
Before submission, I test the app on:
- low-end Android device
- mid-range Android device
- newer Android version
- older supported Android version
- different screen sizes
- dark mode if supported
- slow network
- no internet state
I also check:
- login flow
- logout flow
- onboarding
- permissions
- main user journey
- crash behavior
- empty states
- form validation
- navigation back behavior
This helps catch issues before users find them.
11. Prepare Play Console Store Listing
The Play Store listing is not only marketing. It also affects trust and conversion.
Before submitting the app, prepare:
- app title
- short description
- full description
- app icon
- feature graphic
- phone screenshots
- tablet screenshots if needed
- category
- contact email
- privacy policy URL
- app access instructions if login is required
- data safety details
- content rating questionnaire
A weak store listing can reduce installs even if the app is technically strong.
For client projects, I usually recommend preparing store assets early instead of waiting until the final release day.
12. Add a Privacy Policy
Most production apps need a privacy policy, especially if they collect user data.
A privacy policy becomes important when the app uses:
- login
- analytics
- location
- camera
- push notifications
- payments
- chat
- user-generated content
- AI features
- Firebase
- third-party SDKs
The privacy policy should explain what data is collected, why it is collected, and how it is used.
This is also important for AI-powered apps that process user input, images, text, or uploaded content.
If your product includes AI features, you may also find my AI App Development service relevant.
13. Prepare Release Notes
Release notes should be simple and clear.
For a first release, they can be:
Initial production release with core app features, improved performance, and Android compatibility updates.
For updates, release notes should mention meaningful changes:
- bug fixes
- performance improvements
- new features
- UI updates
- payment fixes
- notification improvements
Avoid vague release notes if the update includes important user-facing changes.
14. Upload Build to Play Console
Once the production .aab file is ready, upload it to the Play Console.
Common release tracks include:
- internal testing
- closed testing
- open testing
- production
For most client apps, I prefer testing first before moving to production.
Internal testing helps verify installation, login, permissions, Firebase, payments, and push notifications before the public release.
15. Final Pre-Submission Checklist
Before clicking submit, I check:
- production API URL is configured
- Firebase production config is used
- app signing is correct
- version code is increased
- app bundle uploads successfully
- privacy policy URL works
- screenshots are correct
- app icon is final
- all required Play Console forms are completed
- data safety section is completed
- content rating is completed
- no debug logs are visible
- no test credentials are hardcoded
- app works on real devices
- crash-free testing completed
This final checklist can prevent many common Play Store rejection or release delay issues.
Common Issues I Watch For
Here are some common problems during React Native Play Store deployment:
- Outdated target SDK version
- Missing or incorrect app signing credentials
- Wrong Firebase package name
- Push notifications not working in release build
- App working in debug but failing in production
- Large APK/AAB size
- Missing privacy policy
- Incomplete Data Safety form
- Sensitive permissions without clear purpose
- Version code not increased
- Test API environment used in production
- Broken deep links or auth redirects
Most of these issues can be avoided with a proper release checklist.
Final Thoughts
Deploying a React Native app to the Play Store is a production process, not just a build command.
A good release requires technical preparation, testing, signing, Play Console setup, privacy compliance, and performance checks.
The smoother the release process, the easier it becomes to maintain and update the app after launch.
For startups and businesses, this matters because a mobile app is not finished when development is complete. It is finished when users can install it, use it reliably, and receive future updates without issues.
If you need help building, fixing, or publishing a production-ready mobile app, explore my React Native Mobile App Development service or contact me to discuss your project.